KB Article #280
CollisionLink allows you to easily record parts that were returned by a shop. Returns can be processed against transactions that have a Status of Completed, Submitted for Reimbursement, or Closed--including orders that have already been archived. CollisionLink provides several options for processing returns:
- You can manually process a return against any completed order by using the Process Returns feature on the Order Details.
- If you are not sure which order the part belongs to, you can find the part to process a return using the Return Part > Search Parts feature available from the Overview window.
- A shop user can submit a return request using CollisionLink. When you receive the returned parts, you can complete the process using the Return Parts > Buyer Returns feature available from the Overview window.
- If you need to process a return on an order submitted via CollisionLink's Claim Creation Manager (CCM), you can do so using the Process Returns feature available from any open Claim Creation Manager order.
Notes:
- CollisionLink allows you to receive notifications when parts are returned by a shop. (Click here for more information.)
- Completed returns can be viewed at any time. (Click here for information.)
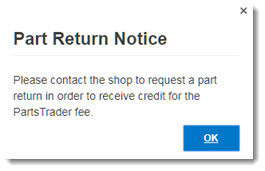
- PartsTrader orders received in CollisionLink may incur a transaction fee from PartsTrader. If processing a return against a PartsTrader order, the following Part Return Notice may display. Contact the shop to process the return in PartsTrader to ensure you receive a credit for the fee.
To process a return from the Order Details window:
- Search the Overview or archived orders for the returned part’s transaction. Once you have located the correct order, double click to view its details.
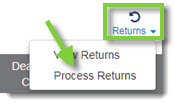
- Click Returns and then click Process Returns. The Process Part Return Wizard will open.
- Place a check beside the parts that were returned.
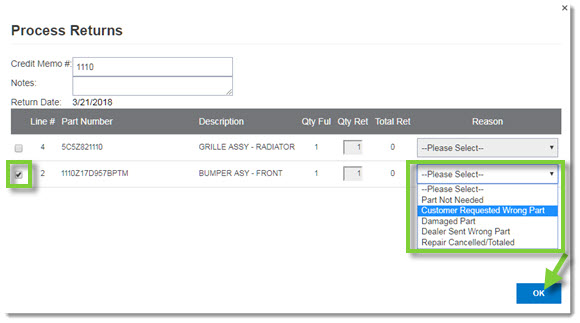
- Verify the Qty Ret.
- Select a Reason for the return. (Part Not Needed, Customer Requested Wrong Part, Damaged Part, Dealer Sent Wrong Part, or Repair Cancelled/Totaled.)
- Type the Credit Memo # or any additional Notes you may have. Note: Any added notes for returning a part will not be shared with the shop.
- Click OK to complete the returns process.
To search for a part and then process a return from the Overview window:
- Click Return Parts from the CollisionLink Tools section of the left-hand navigation.
- Click the Search Parts tab. Note: The search feature will not search for any parts in archived orders.

- Type the Part Number returned and, if needed, adjust the date range for when the part was received. (Both fields are required.) Click the search criteria option to include RO#, Invoice #, or Shop Name as part of your search.
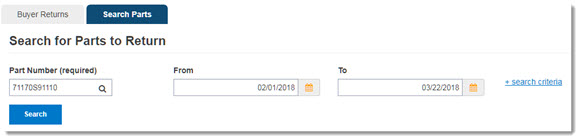
- Click Search.
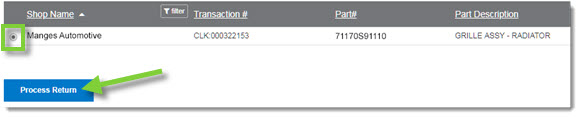
- Select the transaction and then click Process Return. Note: Parts that have already been returned will be grayed out.
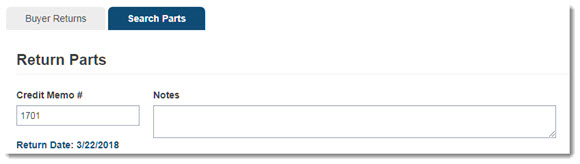
- From the Return Parts window, type the Credit Memo # or any additional Notes you may have. Note: Any added notes for returning a part will not be shared with the shop.
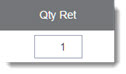
- Verify the quantity being returned.
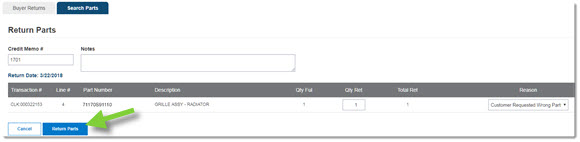
- Select a Reason for the return. (Part Not Needed, Customer Requested Wrong Part, Damaged Part, Dealer Sent Wrong Part, or Repair Cancelled/Totaled.)

- Click Return Parts.
- A confirmation message will display. Click Back if you have additional part returns that need processed.

To process a return from a shop:
- Click Return Parts from the CollisionLink Tools section of the left-hand navigation.
- The Buyer Returns window will display, showing any returns received from your body shops. The body shop name, shop RO#, and the Notes field will help you identify the parts being returned.
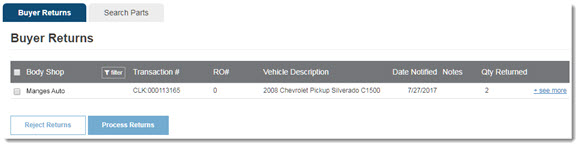
- Click the see more option to expand and view the complete list of parts returned.

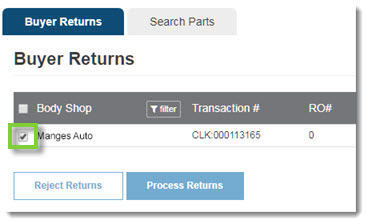
- Individual items can be selected for return by placing a check beside the part. You can also check the "select all" box to process all available returns on the order as a credit. (All parts on an order should be either received or rejected.)
- Click Process Returns to process the return.
-or-
Click Reject Returns to deny the return.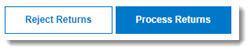
- A confirmation message will display. Click Back if you have additional parts that need returned. (The selected parts will be removed from the Buyer Returns window.)
-or-
Click the Overview tab to go to the CollisionLink Overview.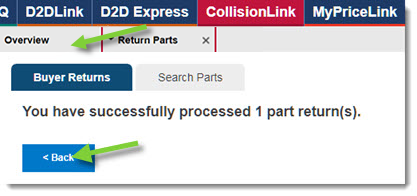
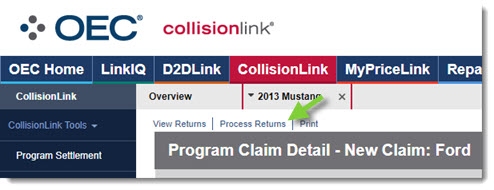
To process Claim Creation Manager returns:
- Search the Overview or archived orders for the returned part’s transaction. Once you have located the correct order, double click to view its details. Note: Claim Creation Manager orders will display Manual Order Shop (U.S./Canada) in the Submitted By column.
- Click Process Returns.
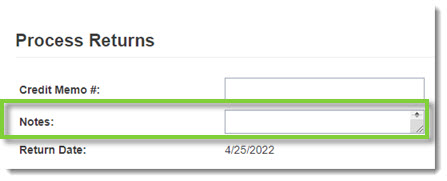
- Type a Credit Memo #.

- Type any Notes, if desired.
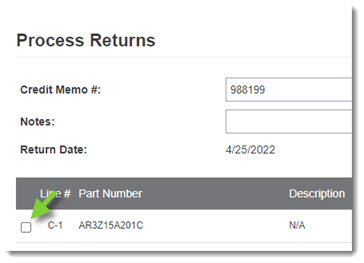
- Check the box for the line you wish to submit a return for.
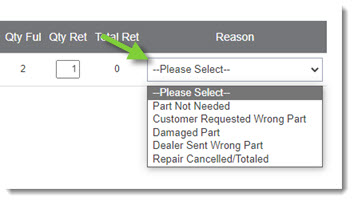
- Adjust the Qty Ret (Quantity Returned) as needed.

- Select a reason for the return from the Reason drop-down.
- Click OK.
