KB Article #1370
Viewing Photos within RepairLink
Whenever a new note or photo is received within RepairLink, the following alert will display:
To view photos:
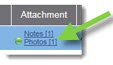
- Simply click the Attachment column header to sort and display the most recent notes and photos at the top. A green dot
 will indicate when a new note or photo has arrived.
 - Click on the Photo link to view illustrations sent by the shop.
- Click on the illustration to view in a full-size window. Illustrations are a huge help in identifying the correct part the first time, decreasing returns and improving customer satisfaction. Click the X to return to the Overview.

Adding Photos to a RepairLink Order
Dealers have the ability to send photos along with a response to an order. Use this feature for hard-to-identify parts or unique decals. Note: Shops cannot add photos to an order, just illustrations provided in RepairLink Shop.
To add photos to an order:
- From the RepairLink Overview , click Photo in the Attachment column.

-or-
From the Order Details window, click Photo.
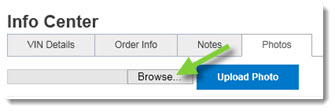
- The Photos tab of the Info Center will display. Click Browse to locate the folder on your computer where photos are stored.
- Locate the photo on your computer and click to select.

- Click Open.
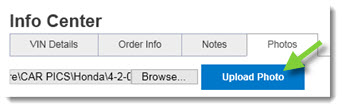
- Click Upload Photo. Your image will be upload to the RepairLink order.
- Close the Info Center when finished.
- When you respond to your shop, the photo will available from the RepairLink Shop Order Details window.
